

No-Drill Glass Rinser Installation
Traditional glass rinsers require drilling a separate hole in your countertop or sink — an expensive, permanent modification that many renters cannot make. The Velgrina Glass Rinser solves this by installing directly into your existing sink drain opening, requiring zero drilling and zero professional help.
Step-by-Step Installation
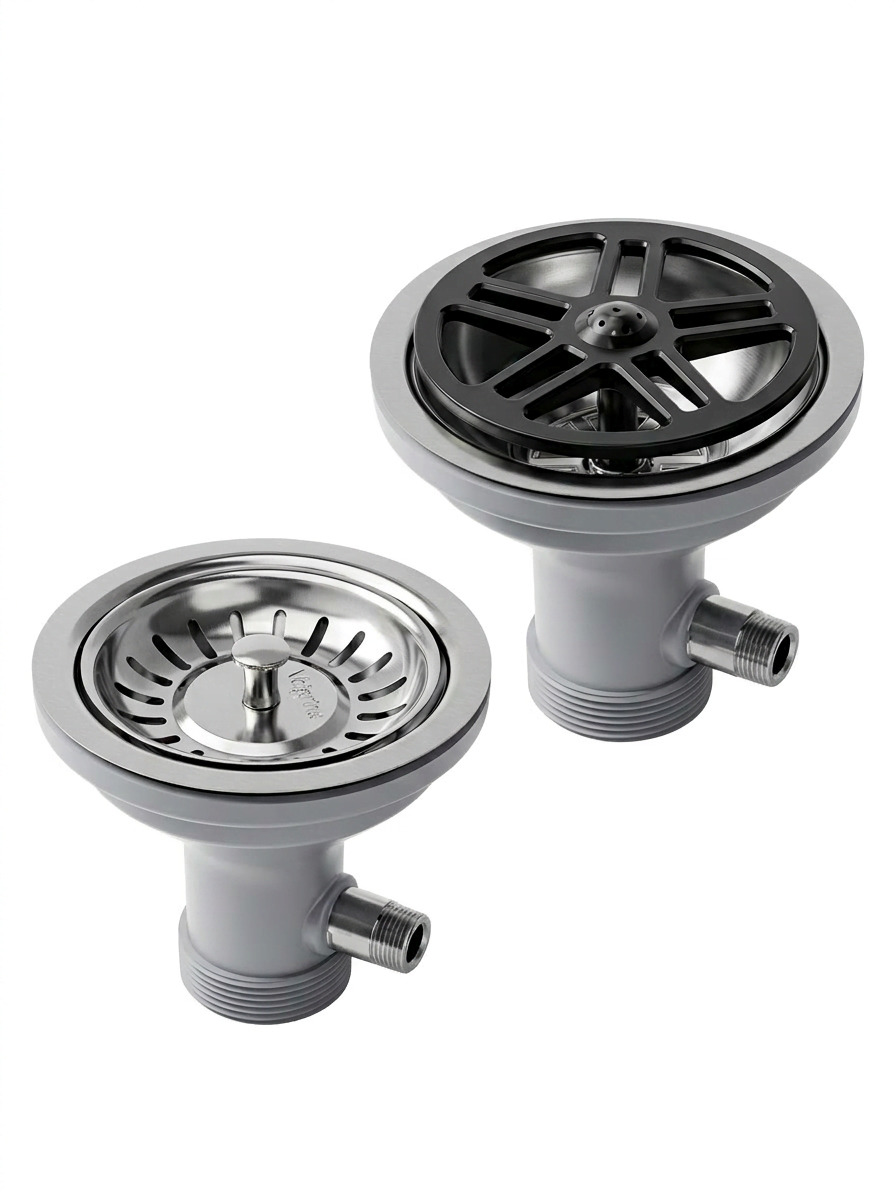
- Remove your existing drain assembly — unscrew the current drain fitting from below the sink
- Clean the drain opening — remove any old plumber putty or debris
- Insert the glass rinser base — it fits standard 3.5-inch drain openings
- Secure from below — tighten the mounting nut underneath the sink
- Connect the water supply — attach the included hose to your hot water line
- Test the seal — run water and check for leaks
QR Code Video Guide
Every Velgrina glass rinser includes a QR code that links to a detailed video tutorial. Scan it with your phone and follow along in real time. Most installations take 15-20 minutes with basic tools.
Compatibility
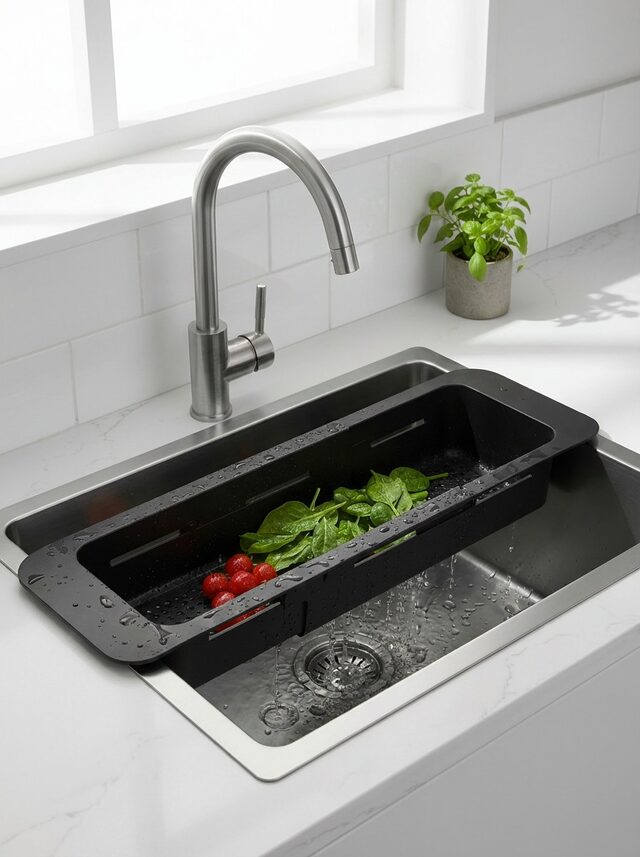
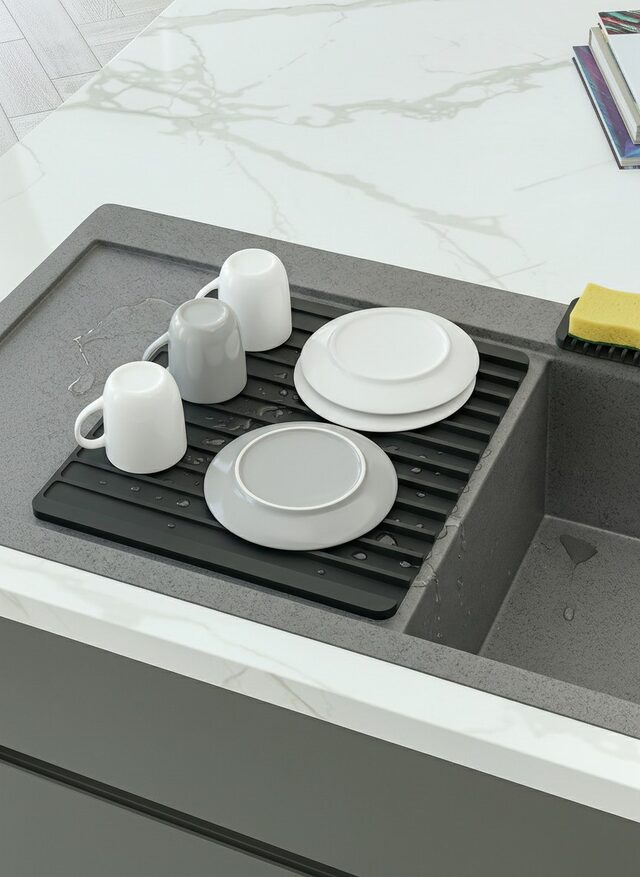
The glass rinser fits any standard 3.5-inch kitchen sink drain. It works with single and double bowl sinks, stainless steel, granite composite, and ceramic sinks. The Deep Glass Cleaner Attachment version adds extra cleaning power for bottles and narrow containers.
Both models are available in the Glass Rinser Collection.

